

Set up your first Weav Knowledge Base
Choose how to start your Knowledge Base, follow the setup questions, and review imported articles or AI-written drafts before taking your help center live.
Create your first Weav Knowledge Base from the content you already have—or from a short description of your product. You can move an existing help center, draft articles from your website, import documentation from GitHub, or start from scratch.
This guide walks through setup and the review before launch. For the wider capabilities, see Getting started with Weav's self-improving Knowledge Base.
Before you start
- You need workspace administrator access to start a build.
- Decide which source best represents your current product and customer questions.
- For website or help-center setup, have a public, readable URL ready. Pages that require sign-in may not be readable through this setup flow.
- For GitHub import, have permission to give the Weav GitHub App access to your docs repository.
- Do not include passwords, access tokens, customer records, or other sensitive information in setup answers or instructions.
Building, publishing articles, and going live are different steps. Website and start-from-scratch setup create drafts for review. Help-center migration and most GitHub imports create published articles. A private Knowledge Base does not become public just because its articles are published; you must take the site live separately. If your site is already live, imported published articles may be publicly available immediately.
1. Open Knowledge Base setup
During sign-up
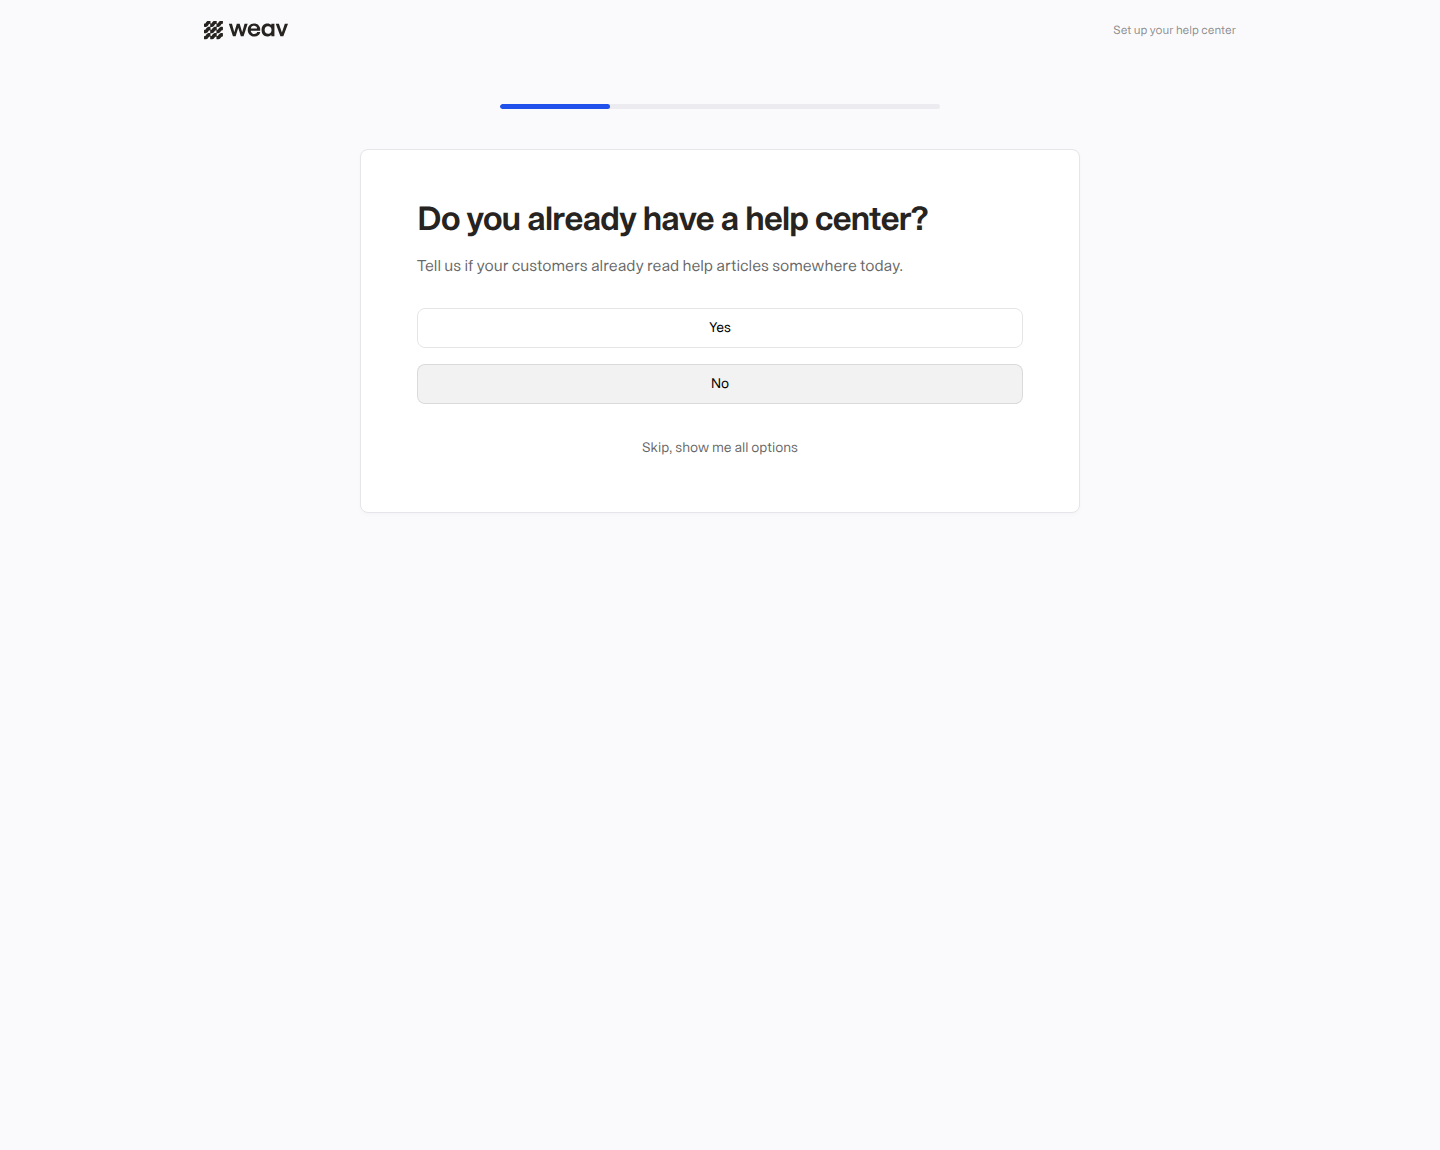
If you sign up through the Knowledge Base setup flow, Weav starts with a few questions:
- Do you already have a help center?
- If you answer Yes, Where does it live today? Choose a help-center tool or Markdown files in GitHub.
- If you answer No, Do you have a website for your product? Your answer takes you to the website or start-from-scratch details.
You do not have to answer every question. Skip, show me all options opens the four starting choices directly.
From an empty Knowledge Base
Open Knowledge Base → Overview. When there are no articles and no active build, you see How do you want to start? instead of the usual overview statistics. Select an option, then Continue →.
An existing build or failed attempt can show a progress or recovery screen instead. Follow that screen rather than starting a second build.
2. Choose the right starting option
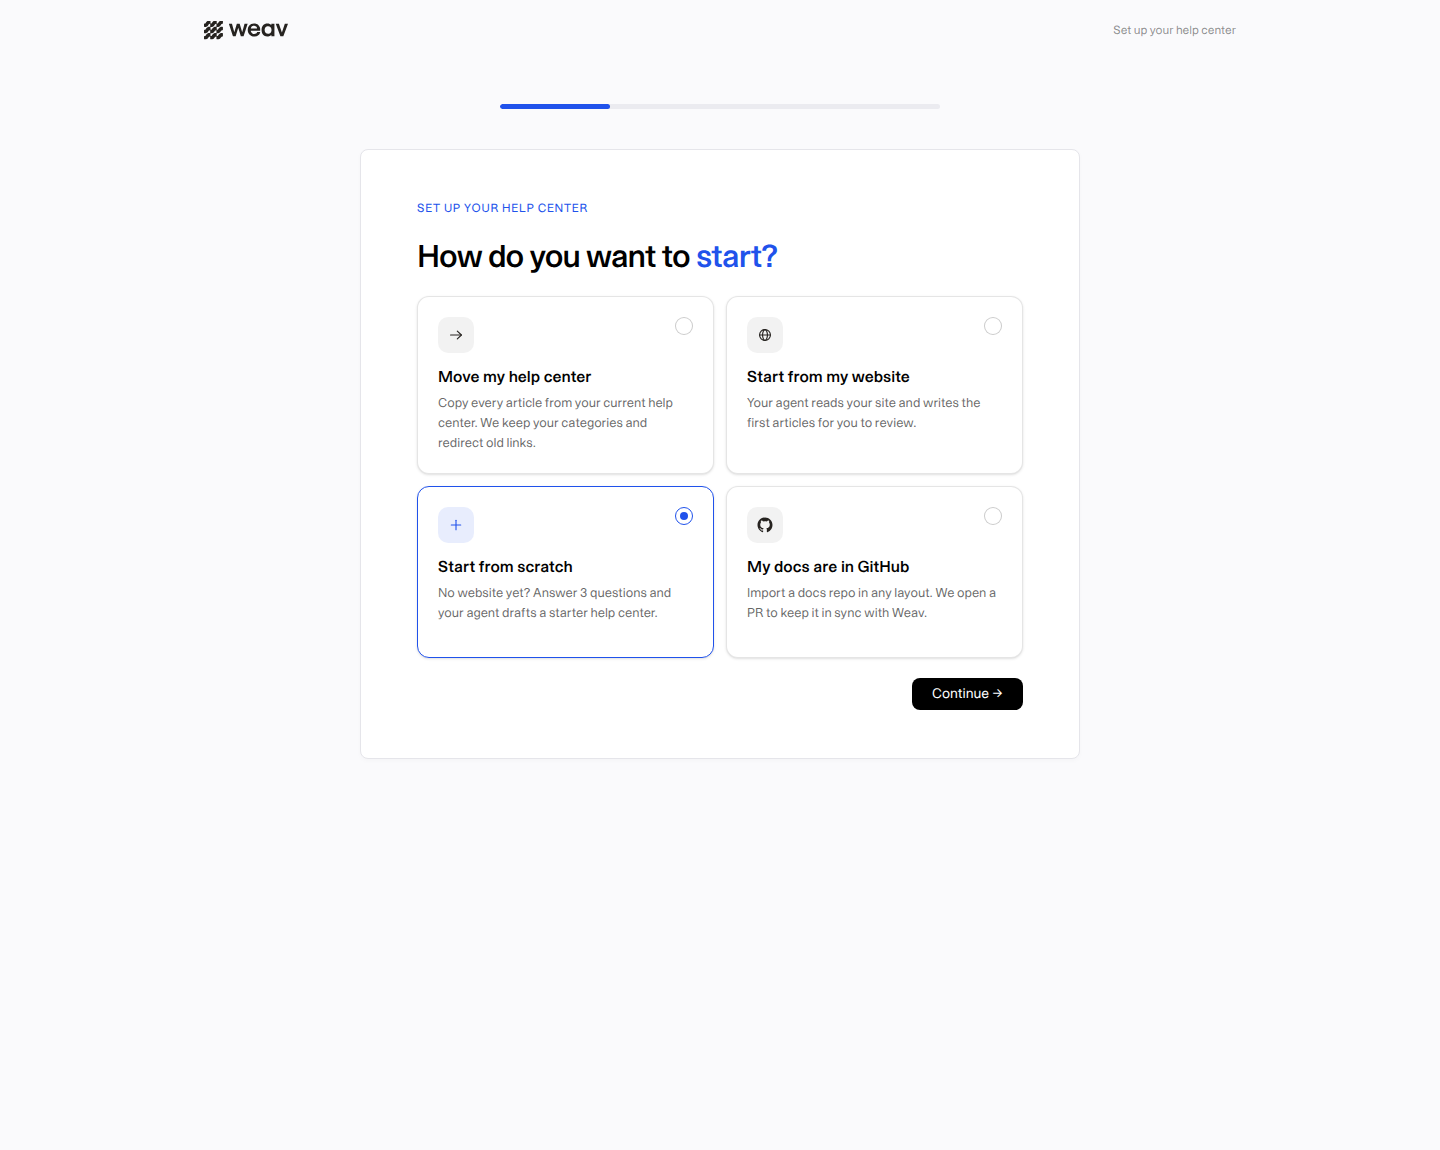
| Starting option | Use it when | What you get |
|---|---|---|
| Move my help center | Customers already read your help articles on a public help-center site. | Existing guidance imported into Weav, with categories brought over where the source supports them. Imported articles are published. |
| Start from my website | You have a product or marketing website but no finished help center. | An agent reads the site and writes first-draft help articles for you to review. |
| Start from scratch | You do not have a useful public website or want to describe the product yourself. | An agent drafts starter articles from your product description and audience's questions. |
| My docs are in GitHub | Your documentation already lives in a GitHub repository. | Imported documentation, followed by a restructure pull request for two-way sync. Most imports are published; draft rules still apply. |
Choose the source with the clearest, most accurate information. The website and scratch options are starting drafts—not a guarantee that every generated instruction matches your product.
3. Add the details for your chosen option
Option 1: Move my help center
Enter the Help center address, such as the fictional https://help.acme.example. Use the public help-center address, not its administration or sign-in page.
You can also add Instructions that we should focus on (optional), up to 2,000 characters. For example: “Skip the Legacy category. Use Acme Projects as the product name.”
During sign-up, select Build my help center. On an empty Overview, the action is Continue →.
This option brings over existing guidance rather than writing a new draft version of every article. Review imported formatting, images, categories, and links before switching readers from the old site.
Option 2: Start from my website
Enter the Website address, such as https://acme.example. If you already provided a website during sign-up, it may be filled in.
During sign-up, select Build from my website. On an empty Overview, select Continue →.
Weav reads the site and drafts articles from the information it can find. The resulting articles stay drafts until you review and publish them.
Option 3: Start from scratch
Answer all three required questions:
- What's it called? Your product name, up to 120 characters.
- What does it do? Explain the product and its main tasks, up to 2,000 characters.
- Who uses it, and what do they ask you most? Describe your audience and their common questions, up to 2,000 characters.
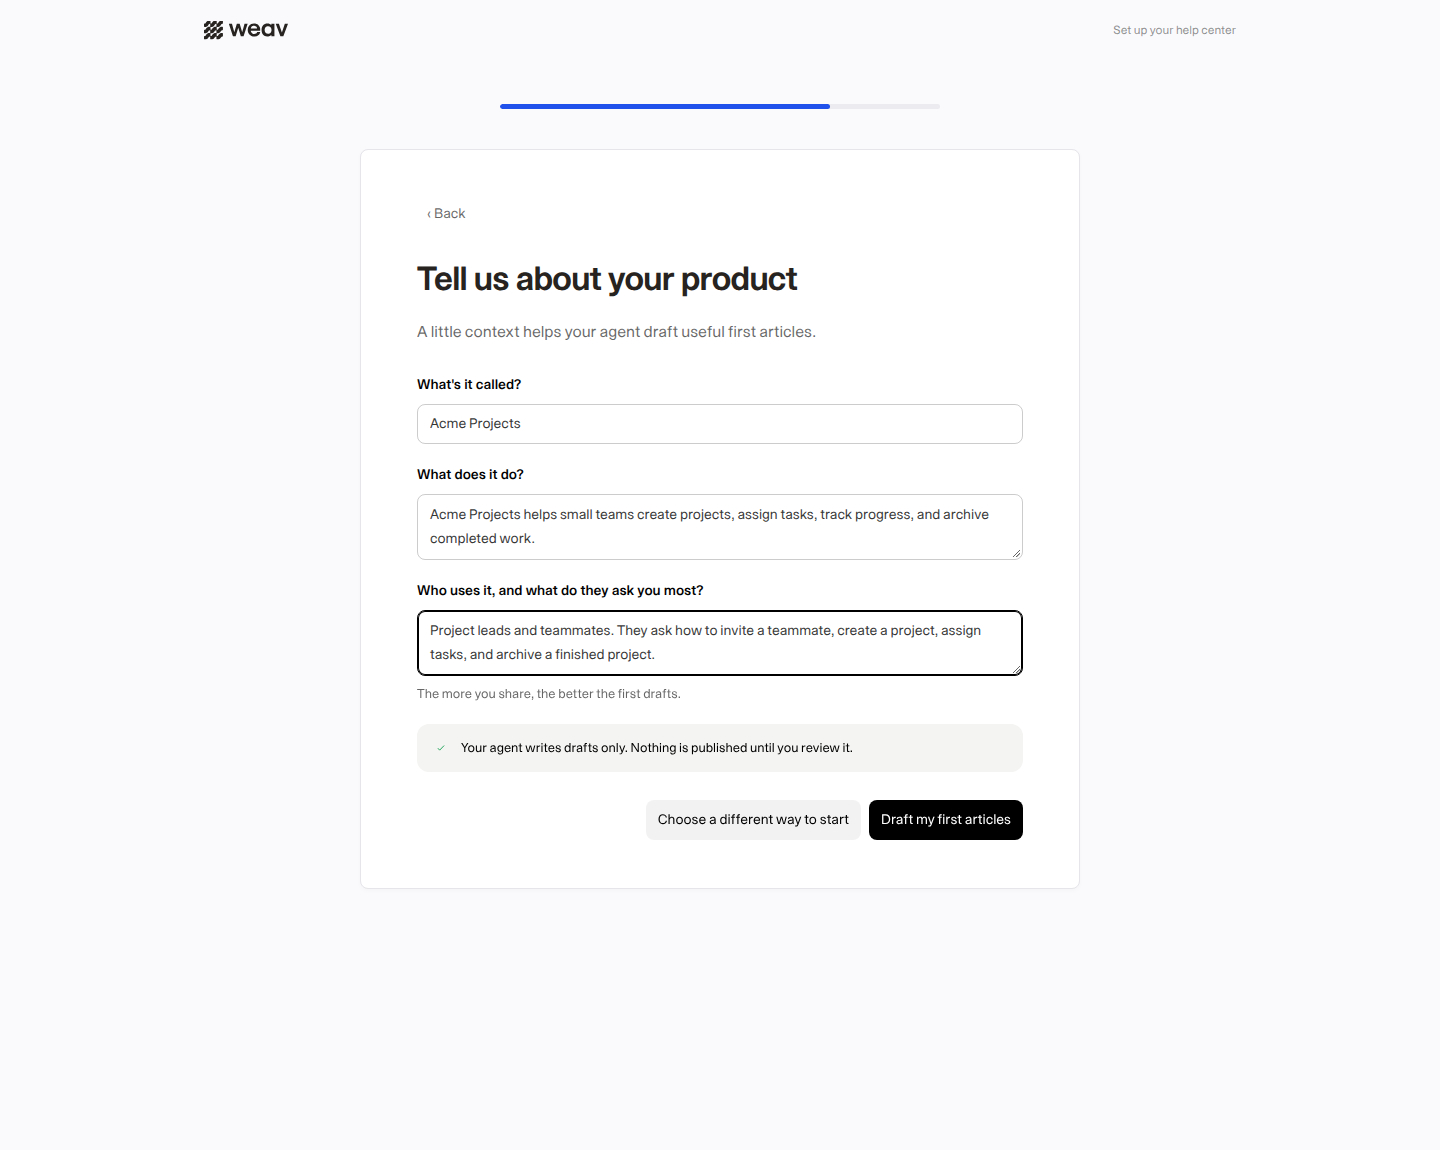
Specific answers help more than marketing slogans. For example, explain that customers invite teammates, create projects, assign tasks, and archive completed projects. Include common questions and important limits so the first drafts have useful context.
During sign-up, select Draft my first articles. On an empty Overview, select Continue →. These articles also stay drafts until you review and publish them.
Option 4: My docs are in GitHub
Connect GitHub or update the app's access, choose the Docs repository, and optionally enter a Docs folder. Use Preview to check the discovered structure before importing.
During sign-up, select Import my GitHub docs. On an empty Overview, select Continue → on the details screen.
GitHub setup has a later migration step. After importing, Weav prepares a restructure pull request that can remove files your old docs site needs. Review it and coordinate the cutover before merging. Sync stays paused until that pull request is merged; active documentation sync can then update published articles directly, without waiting in Suggestions.
Follow Import your docs from GitHub into your Knowledge Base for preview counts, draft exceptions, conversion notes, permissions, and safe merge instructions.
Check addresses and switch options
Website and help-center addresses must be valid URLs, including https://, and can be up to 2,048 characters. If you see Enter a valid URL, including https://., correct the address before continuing.
Use Back to revisit the previous screen. During sign-up, the secondary action offers Not now, I'll start from scratch on the source-based screens, or Choose a different way to start on the scratch screen.
4. Follow the build in the background
The progress screen shows the current article, a progress bar, article and category counts, and individual results grouped by category. Imported help-center pages show importing results; newly generated articles show writing results. Review Failed or Skipped items as well as completed ones.
The “by hand” time is an estimate, not a promised completion time. The adjacent timer shows how long Weav has been working.
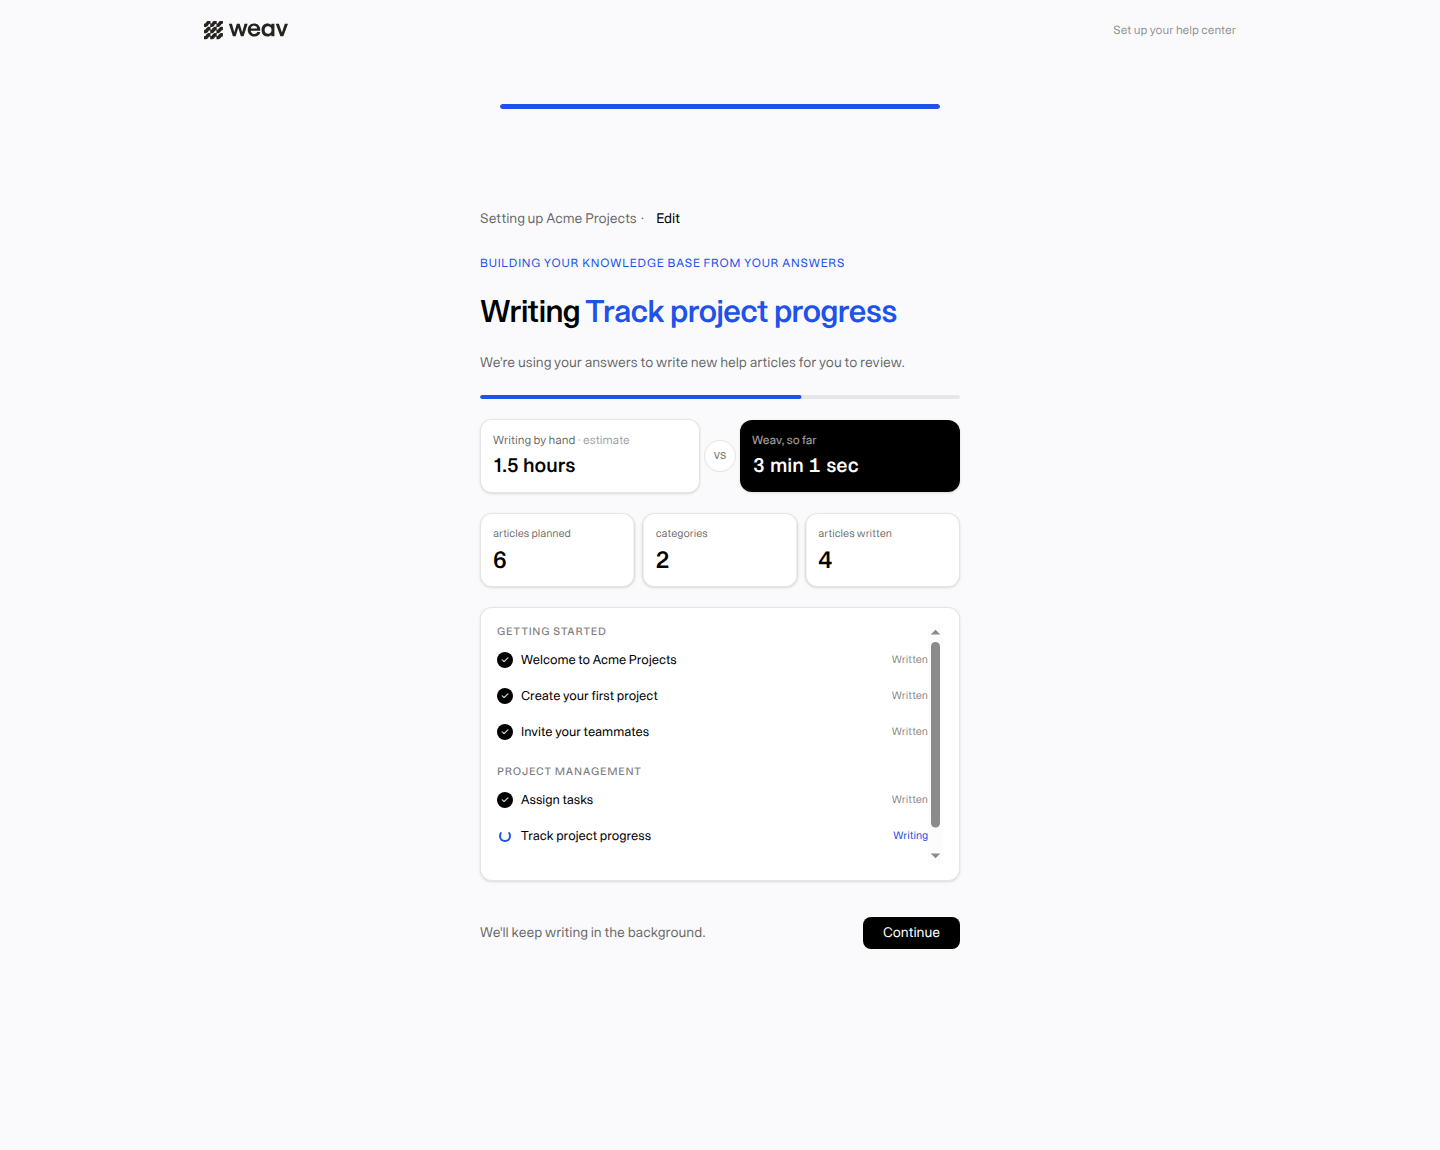
Once enough articles are available during sign-up, Continue lets you enter the workspace while the rest finish in the background. That button does not publish generated drafts or take your site live.
Inside the app, a build indicator and View progress link help you return to the running job. The completion notification says Your help center is ready for a help-center move, or Your knowledge base is ready for the other starting options.
Check your workspace name
During sign-up, Weav can derive an initial workspace name from the source or product name if the workspace still has its default name. If the progress screen shows Setting up Acme · Edit, use Edit, enter the name, and Save to correct it. Use Cancel to leave it unchanged.
Renaming here is a workspace change, not merely an article-title edit. Check the proposed name before saving.
5. Review the articles before launch
After the build finishes, open Knowledge Base → Content. The Overview can also show a Your knowledge base is ready window summarizing the results; its Continue action opens Content.
- Check completeness. Review the number of successful and failed items. A completed run can still contain individual failures.
- Check accuracy. Test instructions against your product. Correct assumptions, missing steps, and terminology in generated drafts.
- Check presentation. Review headings, screenshots, images, links, and any imported components that need attention.
- Organize navigation. Put articles in useful sections and categories rather than leaving everything in one starter group.
- Publish deliberately. Publish approved drafts, preview the site, and take the Knowledge Base live only when you are ready.
Start with a small, useful set of answers. Prioritize setup, the main customer task, and common support questions. You can keep improving the Knowledge Base after launch instead of waiting for every possible article.
For the next steps, use Write and edit articles in your Knowledge Base, Organize articles and categories, and Go live with your Knowledge Base.
Troubleshoot setup
| Situation | What to do |
|---|---|
| A starter run is already in progress. | Return to its progress screen. Weav does not start another build for the same workspace while one is active. |
| We couldn't read that site. | Check that the address is public and readable. Use Try another URL, or Start from scratch if the site is unavailable or has too little useful content. |
| Some articles failed or were skipped. | Review their results and the successfully created content. Do not assume every page was imported just because the overall run finished. |
| You want to use a different approach. | Use the recovery buttons after a failed attempt, or the Back and alternative controls before starting. If a build is already running, do not try to start a competing run. |
| The build is ready but onboarding could not finish. | Use Try again to finish onboarding. This is different from generating the articles again. |
| Articles say Published, but readers cannot see the site. | Check whether the Knowledge Base is still private. Published article status alone does not take the site live. |
If you signed up through the Knowledge Base flow, setup emails may link you back to an unfinished build, the ready articles, or the final launch step. Use the current in-app results to decide what still needs review.